resize an image
>
>
>
>
first, investigate the current size of the image. ideally, the image size should be smaller than the target size of 900 pixels wide.
in the status bar located at the bottom of the document window, click and hold the document size information.
>
>
to resize the image, select the Image menu in the toolbar, then select Image Size to open the Image Size dialogue box.
>
>
the Resolution of the image may remain untouched, as the photo is being resized for web (rather than for print) and is unconsequential for our use.
now that the image has been successfully resized, select Save As from the File option in the toolbar to rename the file in order to preserve the original image. once the file is renamed, click OK to save.
set the resolution
>
>
>
image resolution is important when sizing an image for print, and can be accessed in the Image Size dialogue box.
>
eg.
the height of the image is 1200
>
>
when preparing an image for print, the unit of measurement should be set to Inches or some other arbitrary tangible unit of measurement.
ensure that the Resample box is unchecked to avoid altering the total number of pixels in the image.
>
the width and height of the image should change proportionately, and indicates the size at which the image will print.
>
crop and straighten an image
>
>
>
>
>
the crop tool is one of the most useful commands in adobe photoshop, allowing the user to trim unwanted portions from the image and straighten it to improve the composition.
locate and select the crop tool from the lefthand toolbar.
>
the crop box will appear around the image edge and can be transformed with these commands:
>
>
>
the rotate tool is one way to straighten an image.
another way is with the Straighten tool.
select the Straighten tool from the top toolbar, then drag along a straight surface and release.
>
I used the rule of thirds to achieve this result as my final composition.
expand the canvas
>
>
>
as opposed to Image Size, modifying the Canvas Size does not change the dimensions of the image itself, but adds space around the image.
>
>
>
if for web use, change the unit of measurement to pixels.
click the Relative checkbox to enable it.
>
>
>
>
rather than calculating the total desired New Size of our image, we can simply give the amount of space we wish to add.
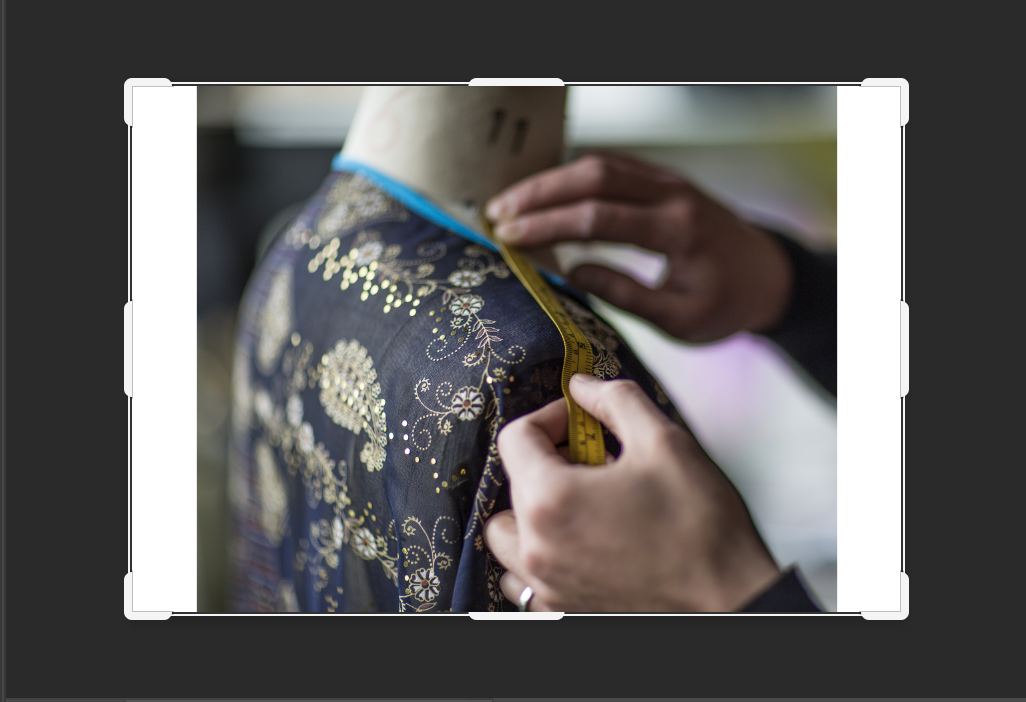
replace the Width field with 400, then click OK to add 200 pixels to either side of the canvas. the result should look something like this.
>
>
you can also modify the Canvas extension color.
>
once the canvas has been expanded 800 pixels to the right, and the image is ready to be saved.
exercise from 2017 Adobe Creative Cloud Photoshop Tutorial Article Change the Image Size. https://creativecloud.adobe.com/cc/learn/photoshop/web/image-resizing-basics.